
It was a crisp Saturday morning in October, the kind where the sunlight drips through the kitchen window like honey and the scent of fallen leaves lingers just outside the door. I was rummaging through my pantry, looking for a quick way to turn a handful of apples into something that could warm my family’s hearts before we even left the house. That moment, when the butter‑soft apple pieces met the sweet, buttery batter, felt like a tiny alchemy experiment that turned ordinary ingredients into pure comfort. As the oven preheated, the air filled with a whisper of cinnamon and sugar, and I knew I had stumbled upon a recipe that would become a staple in our home for years to come.
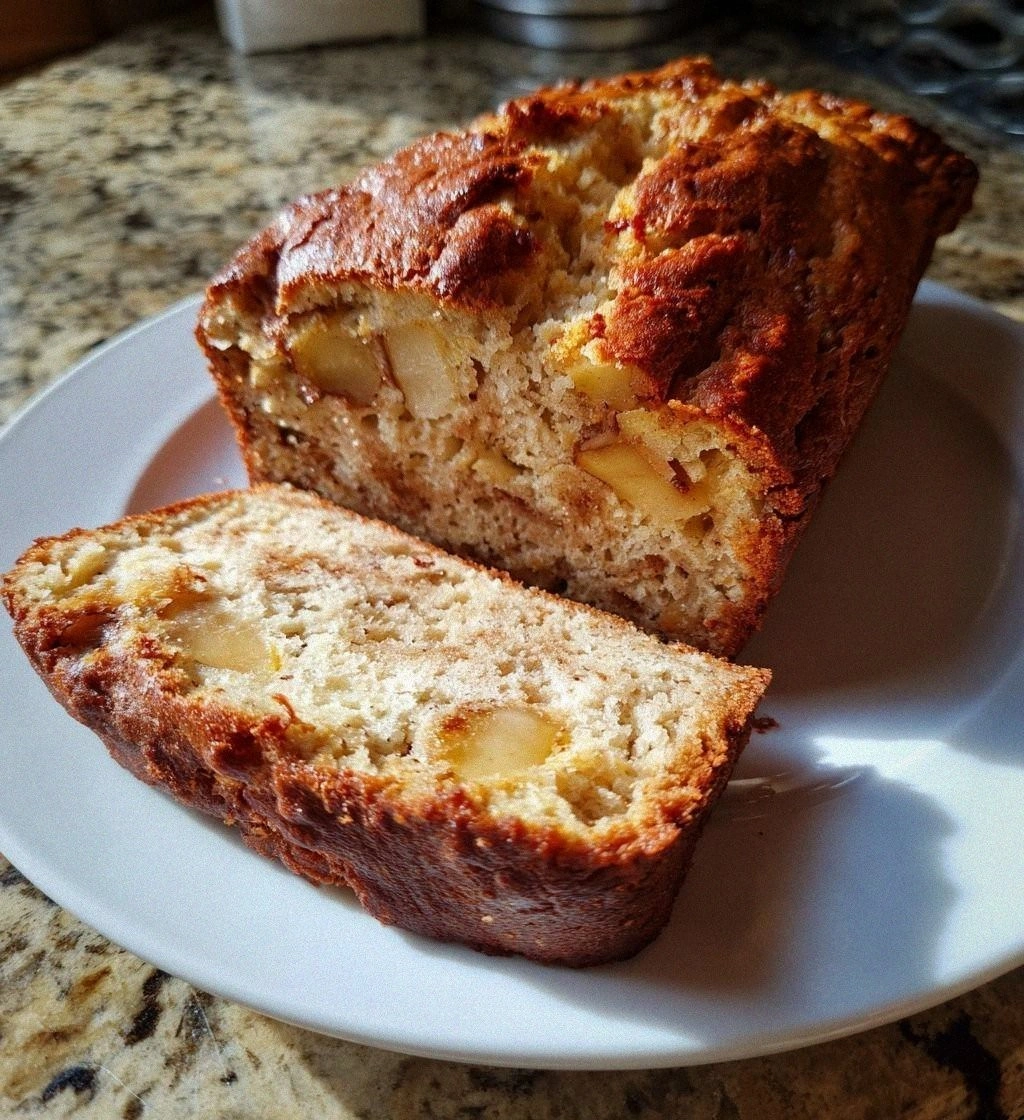
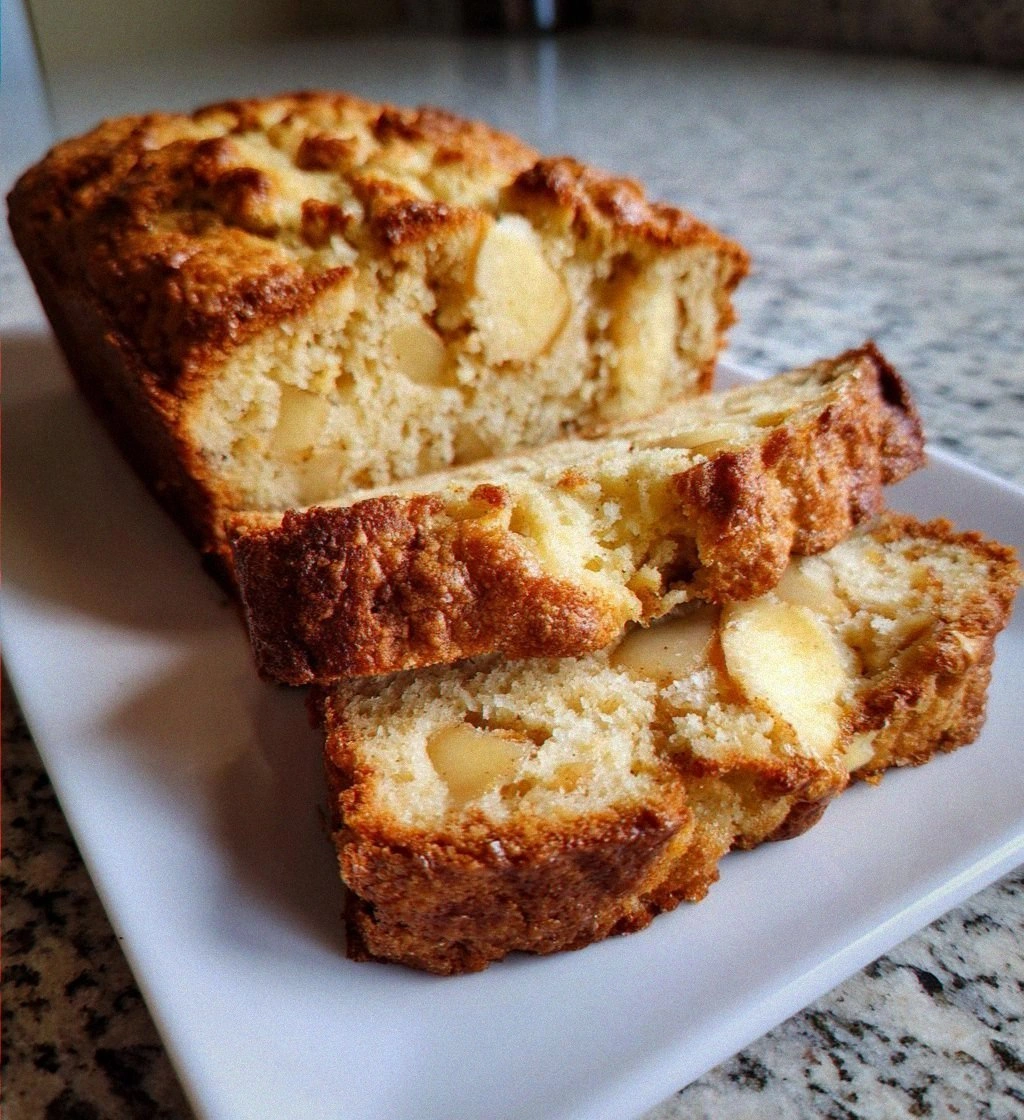
What makes this Quick Apple Bread truly special is its balance of speed and depth. In under an hour you can create a loaf that boasts a tender crumb, a caramel‑kissed crust, and pockets of juicy apple that burst with each bite. Imagine serving it warm, a slice sliding off the knife with a gentle sigh, the steam rising like a fragrant veil that instantly makes you think of cozy kitchen gatherings. The best part? It doesn’t require any fancy equipment—just a mixing bowl, a loaf pan, and a willingness to let your senses guide you. But wait, there’s a secret twist hidden in step four that will elevate the texture beyond anything you’ve experienced with a typical quick‑bread.
You might be wondering why a recipe that takes only 45 minutes can still deliver the rich, layered flavors you’d expect from a slow‑baked treat. The answer lies in the careful selection of each component and the order in which they’re combined, a technique I learned from my grandmother who swore by “the patience of the batter.” As you read on, you’ll discover why each ingredient is chosen, how a tiny adjustment can make the difference between a good loaf and a great one, and the little tricks that keep the crumb moist without turning it soggy. Trust me, once you master this, you’ll find yourself reaching for the apples more often than you thought possible.
Here’s exactly how to make it — and trust me, your family will be asking for seconds, thirds, and maybe even a fourth slice before the loaf even cools completely. Ready to dive in? Let’s explore why this recipe works so wonderfully, break down the ingredients, and walk through each step with the kind of detail that makes you feel like you’re right there in my kitchen, whisk in hand.
🌟 Why This Recipe Works
- Flavor Depth: The combination of cinnamon, vanilla, and fresh apples creates a layered taste profile that evolves as the bread cools, delivering a sweet‑spicy harmony that feels both familiar and exciting.
- Moist Texture: Using vegetable oil instead of butter ensures the crumb stays tender and moist for hours, while the eggs provide structure without making the loaf dense.
- Speed & Simplicity: With just a handful of pantry staples and a single mixing bowl, you can have a bakery‑quality loaf on the table in under an hour, perfect for busy mornings or last‑minute gatherings.
- Versatility: This base is a canvas for endless variations—add nuts, swap spices, or drizzle a glaze, and you’ve got a new treat every time you bake.
- Nutrition Balance: While indulgent, the recipe still offers a modest protein boost from the eggs and a dose of fruit‑derived fiber, making it a satisfying snack that won’t leave you feeling overly heavy.
- Crowd‑Pleasing Factor: The warm aroma of baked apples and cinnamon is universally comforting, making this bread a hit at brunches, picnics, or simply a quiet afternoon tea.
🥗 Ingredients Breakdown
The Foundation
The backbone of any quick‑bread is the flour, and we’re using 2 cups of all‑purpose flour because it provides the perfect balance of structure and tenderness. This type of flour contains just enough gluten to hold the loaf together without making it chewily dense, a crucial factor when you’re aiming for a soft crumb. If you’re looking for a gluten‑free alternative, a blend of rice flour and tapioca starch works well, though you may need to add a teaspoon of xanthan gum to mimic the binding power of gluten. Choosing a high‑quality flour—preferably one that’s been stored in a cool, dry place—ensures consistent results and a lighter texture.
Aromatics & Spices
Cinnamon is the star aromatic in this loaf, providing that warm, comforting spice that pairs perfectly with apples. One teaspoon is enough to infuse the entire batter, but if you love a bolder flavor, a dash of nutmeg or a pinch of ground cloves can add an extra layer of complexity. The vanilla extract, though used sparingly at just one teaspoon, acts like a flavor enhancer, rounding out the sweetness and deepening the overall aroma. Don’t skimp on the vanilla; a good quality pure extract makes a noticeable difference compared to the cheaper imitation versions.
The Secret Weapons
Vegetable oil may seem like a plain choice, but its neutral flavor lets the apple and spice shine while delivering a moist crumb that butter alone can’t achieve. At half a cup, the oil creates a tender crumb without greasing the palate. Eggs are the unsung heroes here, providing lift and structure; the two large eggs we use also add a subtle richness that balances the sweetness of the sugar. Speaking of sugar, a full cup of granulated sugar sweetens the batter and helps caramelize the apple pieces as they bake, creating those delightful little pockets of gooey goodness.
Finishing Touches
The chopped apples, measured at two cups, are the heart of this bread. I prefer to peel them for a smoother texture, but leaving the skin on adds a pleasant bite and extra fiber. Choose firm, crisp apples like Granny Smith or Honeycrisp; they hold their shape during baking and provide a bright contrast to the sweet batter. Finally, a pinch of salt—just half a teaspoon—enhances all the flavors, ensuring the sweetness never becomes cloying. Remember, the secret to a great apple bread lies in the quality of each component, from the freshness of the fruit to the purity of the vanilla.
With your ingredients prepped and ready, let's get cooking. Here's where the fun really begins, and I promise you’ll discover a couple of tricks that turn a simple loaf into a show‑stopping centerpiece.
🍳 Step-by-Step Instructions
-
Preheat your oven to 350°F (175°C) and grease a 9×5‑inch loaf pan with a light coating of oil or non‑stick spray. While the oven warms, the scent of the preheated space will already hint at the golden crust to come, and you’ll notice a faint hum that signals the perfect baking environment.
-
In a large mixing bowl, whisk together the flour, sugar, baking soda, cinnamon, and salt until the dry ingredients are evenly distributed. This step is crucial because it ensures the leavening agent is spread throughout, preventing any bitter pockets of soda. As you stir, the mixture will take on a faint golden hue, a visual cue that the spices are fully incorporated.
💡 Pro Tip: Sift the flour and spices together for an extra light batter; it creates tiny air pockets that make the crumb fluffier. -
Create a well in the center of the dry mixture and pour in the vegetable oil, eggs, and vanilla extract. Beat gently with a wooden spoon or rubber spatula until just combined; you’ll see the batter come together in glossy ribbons. Over‑mixing at this stage can develop gluten, leading to a tougher texture, so stop as soon as the ingredients are no longer streaky.
-
Fold in the chopped apples, distributing them evenly throughout the batter. Here’s the secret trick: sprinkle a tiny pinch of extra cinnamon over the apples before folding; this creates tiny pockets of intensified spice that burst with flavor when you bite into them. The apples should be lightly coated, and you’ll notice the batter turning a warm, speckled amber as the fruit pieces settle.
-
Transfer the batter into the prepared loaf pan, smoothing the top with a spatula. As you level the surface, you’ll hear a soft “whoosh” as the batter spreads, and a faint aroma of oil and sugar begins to rise. Sprinkle a light dusting of cinnamon or a drizzle of melted butter on top if you crave an extra crunchy crust.
⚠️ Common Mistake: Over‑filling the pan can cause the batter to spill over and create a messy crust; aim for no more than three‑quarters full. -
Place the pan in the middle rack of the oven and bake for 30‑35 minutes, or until a toothpick inserted into the center comes out clean and the top is a deep golden brown. You’ll know it’s ready when the edges start to pull away from the sides of the pan and the loaf emits a sweet, caramelized scent that fills the kitchen.
-
Remove the loaf from the oven and let it rest in the pan for 10 minutes; this short cooling period allows the steam to finish cooking the interior gently. Afterward, turn the bread out onto a wire rack to cool completely. The moment you flip it, you’ll hear a soft “thud” as the crust releases, and the steam will rise in a fragrant cloud.
💡 Pro Tip: While the bread cools, you can whisk together a quick glaze of powdered sugar and a splash of milk, then drizzle it over the top for a glossy finish. -
Slice the loaf with a serrated knife, cutting about one‑inch thick slices. The first slice will reveal a tender, moist crumb studded with soft apple pieces that gleam with a caramel sheen. Serve warm, perhaps with a pat of butter melting into the center, and watch as your family’s eyes light up with each bite.
And there you have it! But before you dig in, let me share some tips that will take this from great to absolutely unforgettable…
🔐 Expert Tips for Perfect Results
The Taste Test Trick
Before you bake, give the batter a quick taste—don’t worry, the raw eggs are safe for a quick lick. You’ll notice the balance of sweetness and spice; if it feels a little shy, add a pinch more cinnamon or a drizzle of honey. This tiny adjustment ensures the final loaf hits the perfect flavor note, and it’s a habit that separates casual bakers from seasoned pros.
Why Resting Time Matters More Than You Think
Allowing the batter to sit for five minutes after mixing lets the baking soda react with the apple’s natural acidity, creating tiny bubbles that lift the crumb. I once skipped this pause and ended up with a denser loaf that lacked that airy lift I love. So set a timer, sip your coffee, and watch the magic happen in the bowl.
The Seasoning Secret Pros Won’t Tell You
A dash of sea salt on the top just before baking can intensify the sweetness and bring out the apple’s natural brightness. Professional bakers often keep a small bowl of flaky salt on hand for this exact purpose. Trust me, that tiny crunch of salt against the soft crumb is a game‑changer.
The Moisture Guard
If you plan to store leftovers, wrap the cooled loaf tightly in a double layer of parchment followed by foil. This creates a moisture barrier that prevents the bread from drying out, keeping each slice as soft as the day it came out of the oven. I’ve used this method for weeks, and the bread still tastes fresh.
The Golden Crust Hack
Brush the top of the loaf with a mixture of melted butter and a teaspoon of honey five minutes before the timer goes off. The butter adds shine, while the honey caramelizes to give a beautiful, glossy crust that crackles delightfully when you slice through it. I discovered this trick by accident when I brushed a leftover butter glaze on a different loaf and was amazed at the result.
🌈 Delicious Variations to Try
One of my favorite things about this recipe is how versatile it is. Here are some twists I've tried and loved:
Maple‑Pecan Crunch
Swap half the sugar for pure maple syrup and fold in a quarter cup of toasted pecans. The maple adds a rich, earthy sweetness while the pecans contribute a satisfying crunch that contrasts the soft apple pieces.
Cranberry‑Orange Zest
Add a half cup of dried cranberries and the zest of one orange to the batter. The tart cranberries brighten the flavor, and the orange zest lifts the entire loaf with a citrusy sparkle that feels festive.
Spiced Chai Infusion
Replace the cinnamon with a chai spice blend (cardamom, ginger, clove, and black pepper). This creates a warm, exotic profile that pairs beautifully with the apples, turning the bread into a cozy autumn treat.
Chocolate‑Chip Delight
Stir in a half cup of dark chocolate chips just before baking. As the bread bakes, the chips melt into pockets of gooey chocolate that complement the sweet apples and add a decadent surprise.
Whole‑Wheat Health Boost
Replace half of the all‑purpose flour with whole‑wheat flour for a nuttier flavor and added fiber. The texture remains tender thanks to the oil, and you get a slightly heartier loaf that’s perfect for a wholesome breakfast.
📦 Storage & Reheating Tips
Refrigerator Storage
Wrap the cooled loaf tightly in plastic wrap or store it in an airtight container; it will stay fresh for up to four days. The key is to keep the moisture locked in, so avoid leaving it exposed to the fridge’s dry air, which can cause the crust to become stale.
Freezing Instructions
Slice the bread before freezing, then arrange the slices in a single layer on a baking sheet and freeze until solid. Transfer the frozen slices to a zip‑top freezer bag, and they’ll keep for up to three months. When you’re ready to enjoy, simply pop a slice into the toaster or microwave for a quick warm‑up.
Reheating Methods
To revive a slice, preheat your oven to 300°F (150°C) and warm the slice for 8‑10 minutes, or use a microwave for 20‑30 seconds. For a crispier crust, place the slice on a skillet over medium heat, adding a tiny splash of water to the pan and covering it for a minute; the steam will soften the interior while the bottom crisps up.


